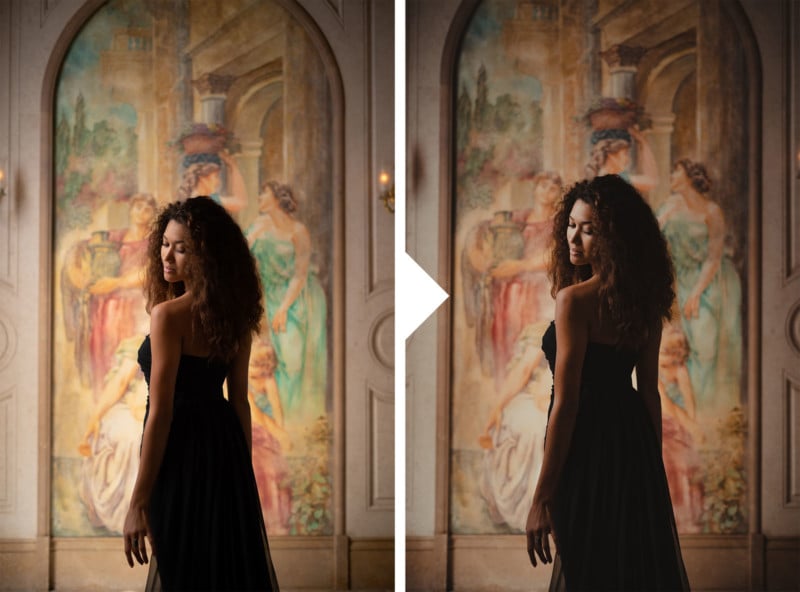
A Bright Idea for Subject Placement in Portrait Photos
With careful composition and editing techniques, you can take your portrait game to the next level. In this video, I’ll show how you can level up your portraits with this one simple tip.
Before we begin, be sure to download the exercise file here and follow along as I edit.
What is the Tip?
The tip is quite simple: Place your subject in the brightest part of the frame.
I have two reasons for this: First, the eyes are naturally drawn to the brightest part of the frame. Second, doing this will give you more flexibility when you edit. I’ll demonstrate the second point shortly. First, let’s begin with how to apply this technique when shooting.
Composing the Shot In-Camera
![]()
I found this beautiful location just off the side of a hotel and a major highway. I began with a test shot of my couple and the first thing I noticed was the patch of open sky in the middle of the frame.
![]()
Since our eyes are naturally drawn to the brightest part of an image, it’s usually a bad idea to place your subjects away from it. Our goal is to draw the attention to the couple so I placed them right over the patch of open sky. Notice that in the second photo, we’re naturally drawn to the couple.
![]()
Here’s another example of this tip. With this open sky behind my couple, I simply placed them right in front of the sun. The natural vignette helps draw the attention right to them.
![]()
In the second example, we were shooting right next to a large open door. The light was pouring in from the side and I placed my subject directly in the light which my assistant was diffusing with a large scrim. Pairing that with a darker background helped draw the focus directly to her.
In this example, there are no direct highlights like the first two. Instead, we have a dark background and light pouring in from the side. I placed my subject right in the light which my assistant was diffusing with a large scrim. With most of the light falling on my subject, she becomes the main point of focus in the photo.
Enhancing the Images in Post-Production
![]()
Let’s see how powerful this tip can be when you take your portraits to post-production. I began by applying the Modern > Soft Light preset from VF Presets.
![]()
Simply add a radial filter to darken the areas around your subject. When our subjects are placed in the brightest part of the image, we can essentially modify the light while still looking natural. Notice that in the edited image, it looks as though the couple was lit by a soft-box when it was actually just ambient daylight.
![]()
The same principle applies here. After applying a preset, I added a radial burn around the couple. I’m essentially enhancing the natural vignette to pull more focus onto my subjects.
![]()
For my last example, I took a different approach. Instead of a radial filter, I began by lowering the overall exposure. Then, I used the “Dodge Highlights” brush from the Retouching Toolkit to paint light back onto my subject. The brush selectively lifts the highlights and makes my subject pop from the background.

I added a subtle radial burn and arrived at this final image.
Conclusion
I hope you enjoyed this article/video. Give this tip a try next time you’re out shooting portraits. All you have to do is look out for the brightest spot in your frame and place your subject there. Then, you’ll see how it can transform your image as well as the editing flexibility it will provide once you take it into post-production.
For a full course on editing, be sure to check out the Mastering Lightroom over on SLR Lounge Premium. You can also find intuitive lighting based presets like the Modern Pack as well as the Retouching Toolkit at Visual Flow.
Don’t miss our next episode of Mastering Your Craft on Adorama’s YouTube channel next week! If you want to catch up on all the episodes, make sure you check out our playlist!
About the author: Pye Jirsa is a wedding photographer based in Southern California and the co-founder of SLR Lounge. The opinions expressed in this article are solely those of the author. You can find more of Jirsa’s work on Instagram.
from PetaPixel https://ift.tt/30VPuDa
via IFTTT
Comentarios
Publicar un comentario